Part One: AWS SAM
- Note: This is a brief introduction about how to setup a Serverless Application Model using VS Code and Nodejs. I will probably be adding more details later.
Visual Studio Code
- VS Code is an perfect IDE for writing/testing/deploying SAM. Some key points need attention are listed.
- AWS credentials in Users/UserName/.aws folder.
- Create yaml file with resources: lambda function, policies, runtime language, environment variable etc…
- Writing lambda function in Nodejs, CROS policy…
- CRUD operation: marshall/unmarshall object etc…
- AWS CLI: package and deploy SAM to AWS
- AWS CLI command to package and deploy SAM to AWS.
1 | sam deploy --template-file output-yamlFileName.yaml --stack-name Your_Stack_Name --capabilities CAPABILITY_IAM |
1 | sam package --template-file yamlFileName.yaml --s3-bucket S3_Bucket_Name --output-template-file output-yamlFileName.yaml |
- A very useful course I took about AWS SAM: Deploying Serverless Applications in AWS Using the Serverless Application Model
Part Two: AWS SSO
Create Custom SAML Application
We can use AWS SSO as an IDP for our web application.
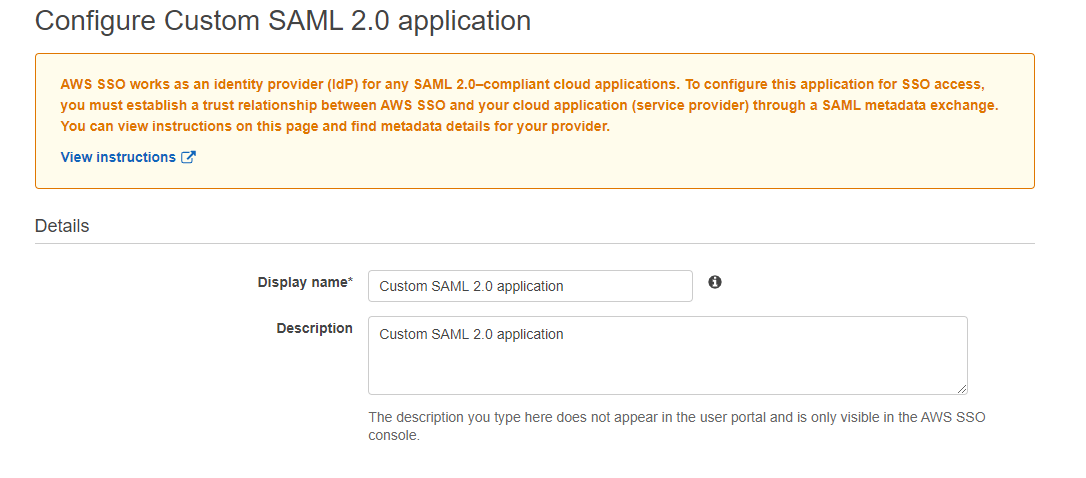
Create new Custom SAML 2.0 application.
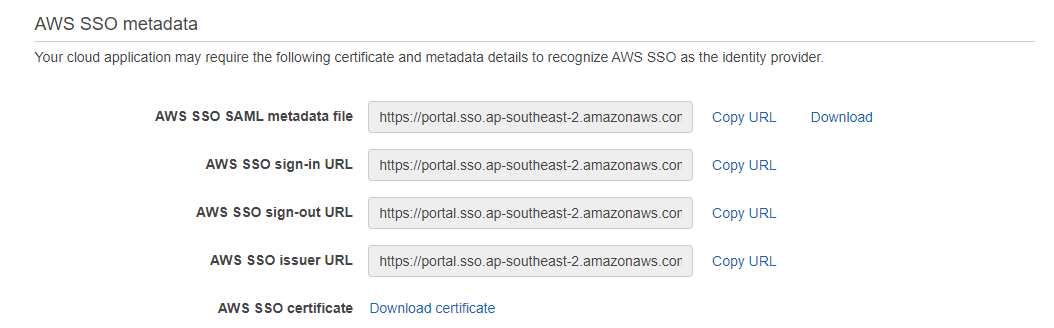
This is IDP metadata, we will download it after finishing configuring return attributes.
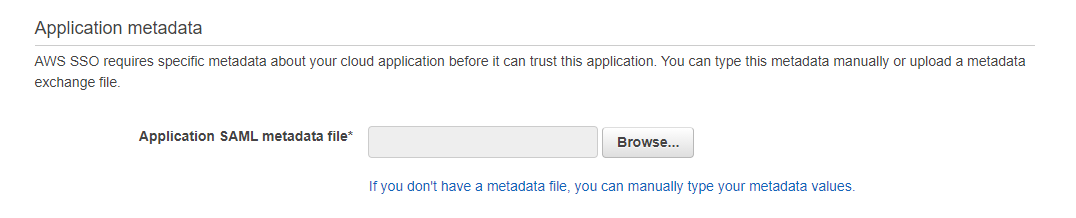
This is SP metadata, which we will prepare and upload.
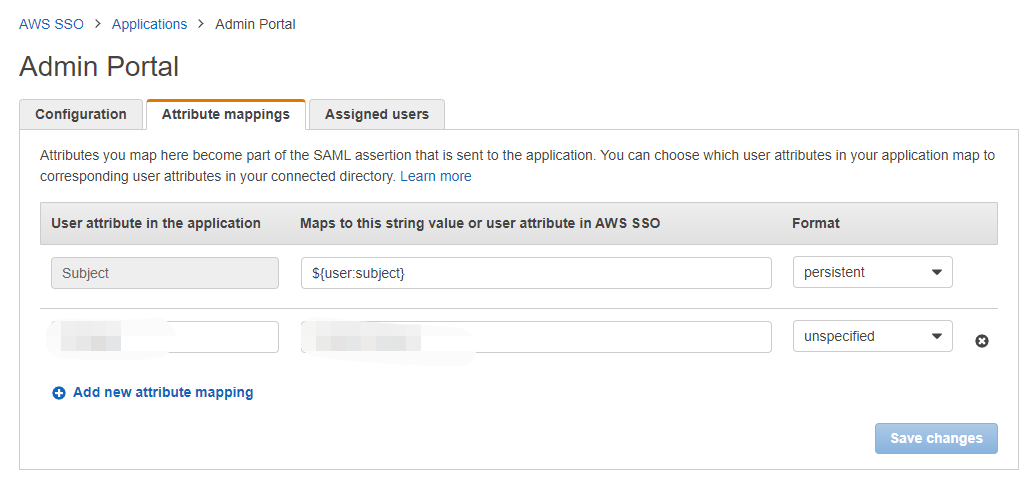
This is where we config the return attribute in SAML response. Supported attribute list can be found [here](https://docs.aws.amazon.com/singlesignon/latest/userguide/attributemappingsconcept.html?icmpid=docs_sso_console)
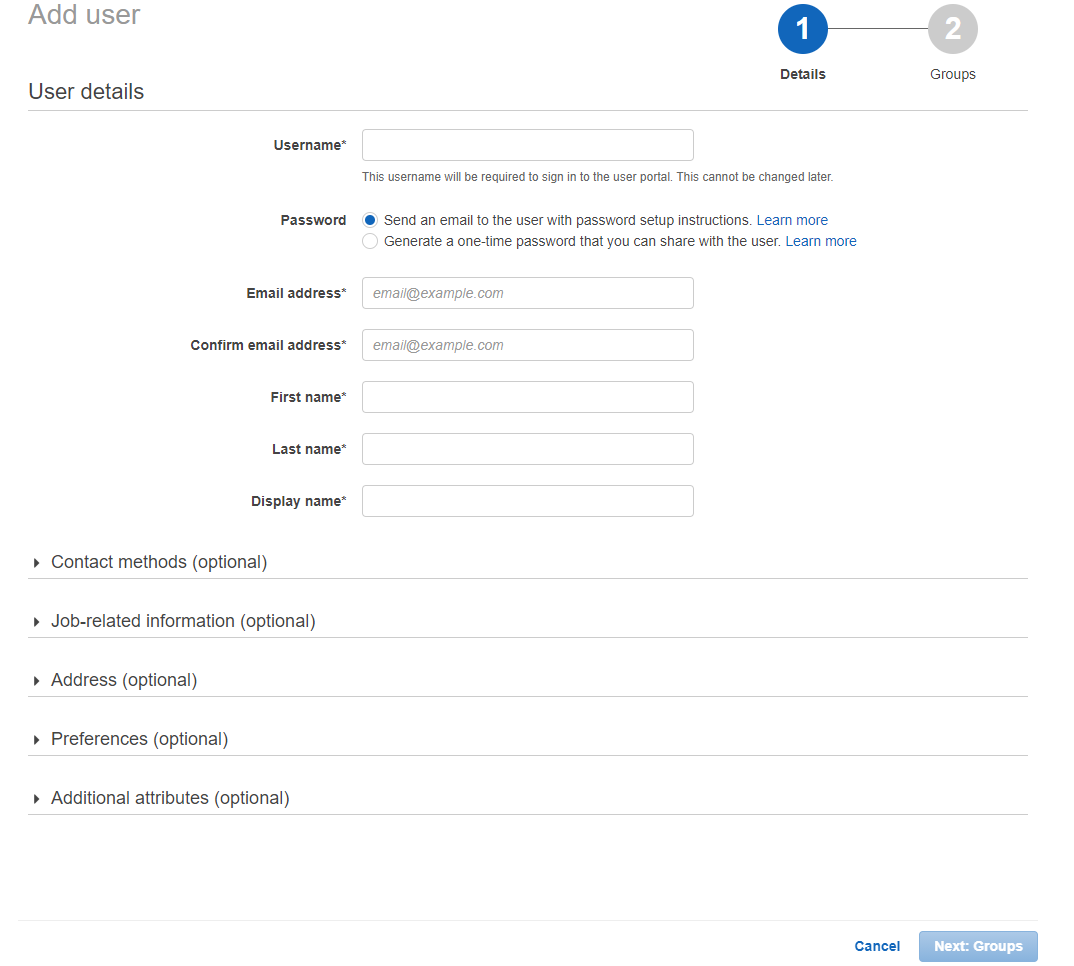
Create Users
- Users can be created by simply fill this form. You can also setup MFA device after creating the user.
Part Three: AWS CloudFront
Restricting Access to Files in Amazon S3 Buckets
- You can optionally secure the content in your Amazon S3 bucket so that users can access it through CloudFront but cannot access it directly by using Amazon S3 URLs. This prevents someone from bypassing CloudFront and using the Amazon S3 URL to get content that you want to restrict access to. (Using Origin Access Identity)
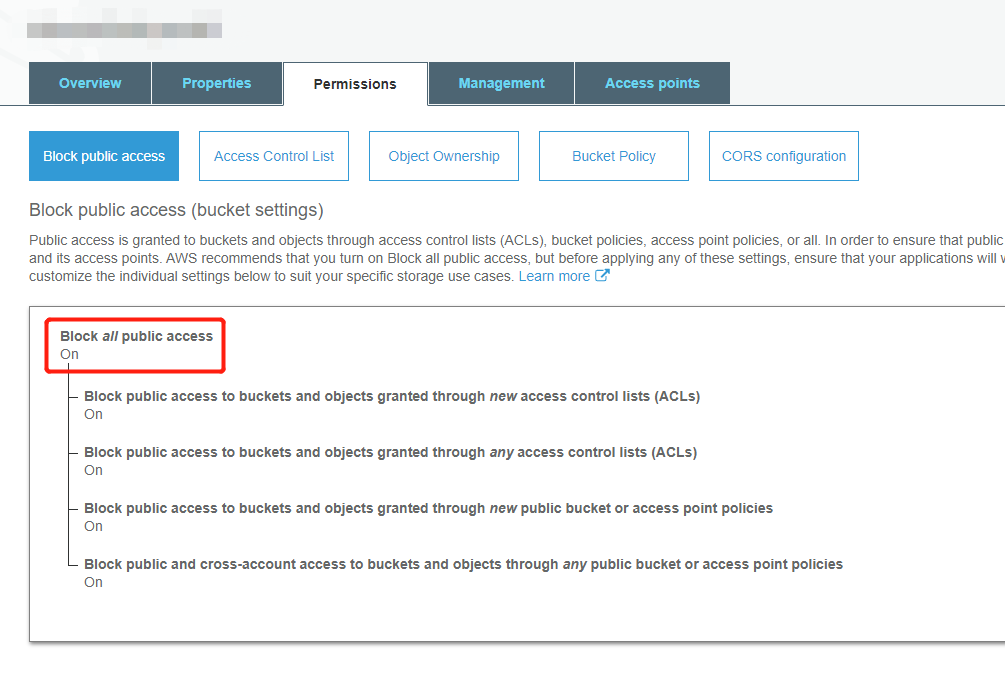
Block all public access to S3 bucket
- When creating new distribution in CloudFront, do the following steps
- Select Web distribution
- Select the S3 bucket you want to connect to
- Select Redirect HTTP to HTTPS if you don’t want people to access your content by HTTP requests
- Select Yes for ‘Restrict Viewer Access’
- Select Self as trusted signer
Create Trusted Signer
Note When 'Restrict Viewer Access' is selected, you can specify which account is the 'Trusted Signer'. Which means they have the permission to create signed URL or signed cookie for people to access your private content.
Self is the default 'Truested Signer', which is the account your are currently using. You can also add another accounts by entering their account ID.
Create another behavior
- Login page should be accessiable by public, so as the js, css and image files. So we should create another behavior to let CloudFront know which file access is retricted and which are not.
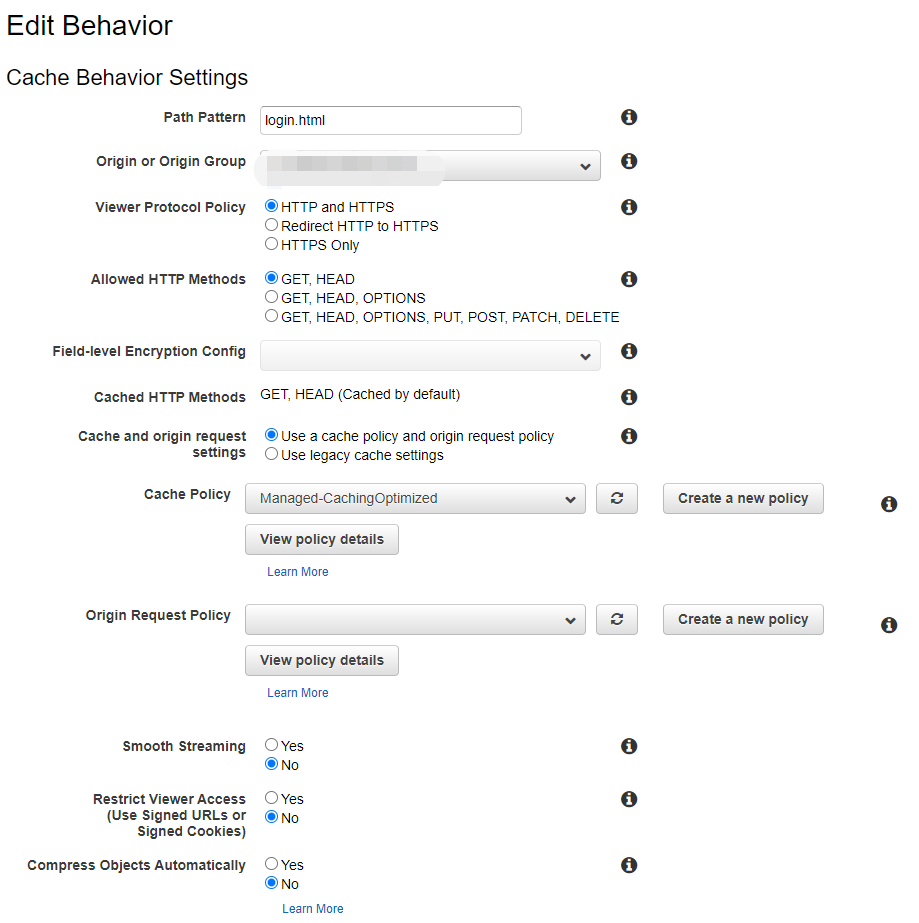
Path Pattern decides which files can be set to public(also select No for 'Retrict Viewer Access' this time)
Rules about Path Pattern can be found [here](https://docs.aws.amazon.com/AmazonCloudFront/latest/DeveloperGuide/distribution-web-values-specify.html#DownloadDistValuesPathPattern)
Create CloudFront Key Pairs
We need CloudFront key pairs to create signed URLs and signed Cookies, they are a pair of public and private keys AWS uses to encrypt requests people send to CloudFront, so it knows whether they are authenticated users.
This step can only be done using AWS root account, IAM account cannot create CloudFront key pairs.
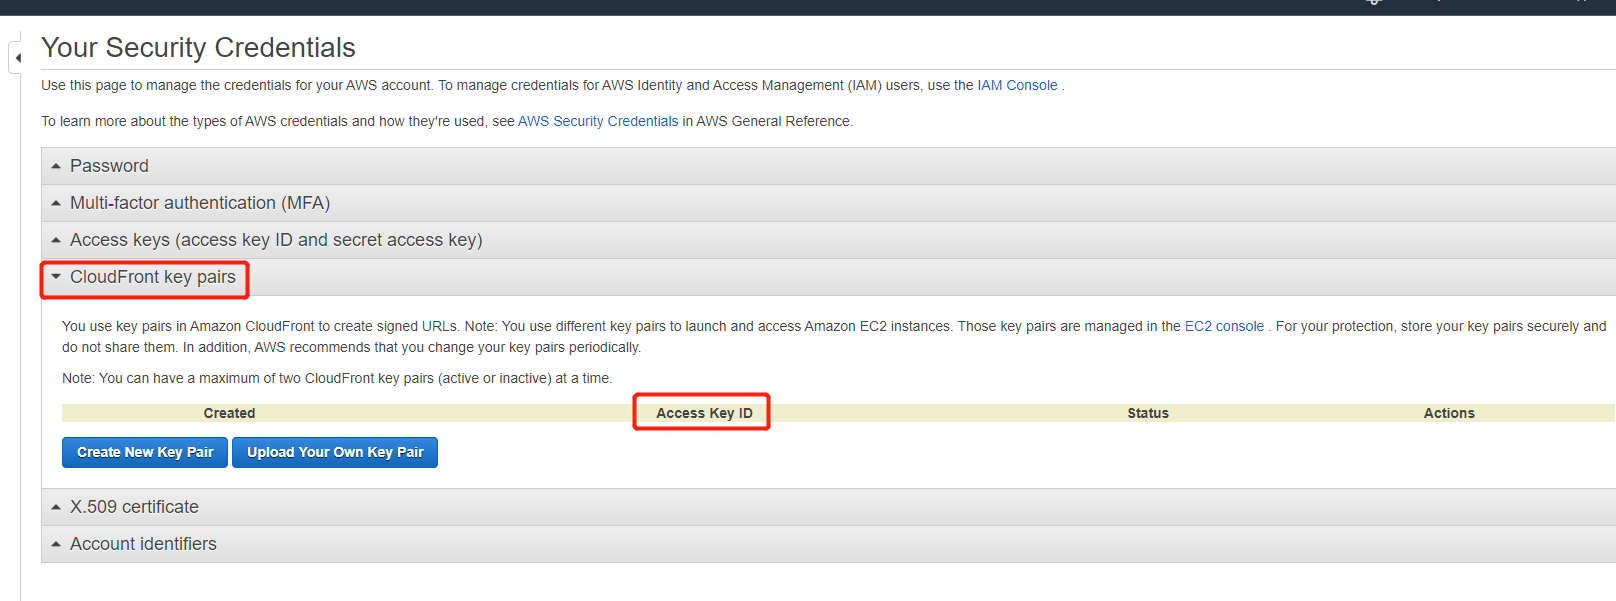
- Save the private key pem file and Access key ID to a save place. We will use it later.
Create Signed URL
This is the most important part.
I used two ways to create signed URL, nodejs and C#. I use nodejs to create a lambda function as an API, which will return the signed URL generated. I also add this feature to the SAML project, so when IDP returned SAML response, I can add signed details to the URL and redirect user to the home page.
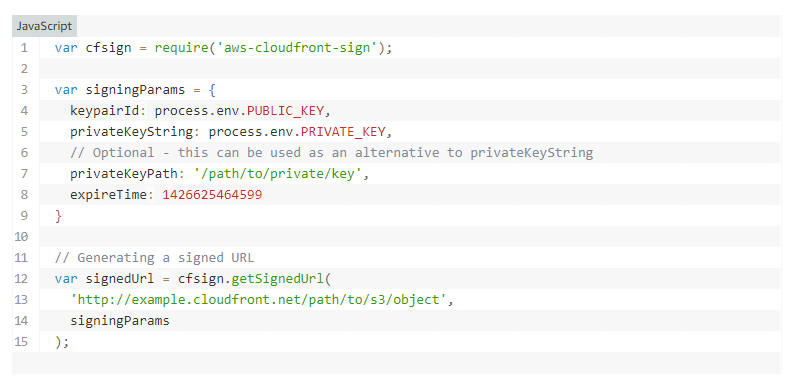
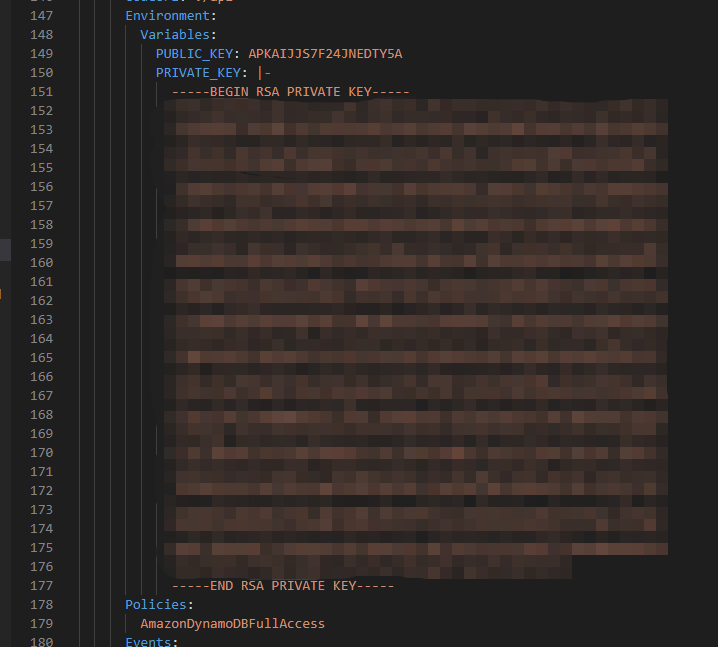
Note that yaml file supports multiple line string (a vertical line followed by a hyphen), so we can add private key string in the yaml file as a environment variable, so as the public key.
Also note expiry time input are in [Unix Epoch Time format](https://www.epochconverter.com/) in miliseconds(13 digits). However, the expires argument in the signed URL are in seconds format (10 digits).
Also note that C# doesn't recognize private key string in PEM format. We have to convert it to XML format before create signed URL.

- The signed URL created will append three arguments at the end of the original URL: Expires, Signature and Key-Pair-Id

- Note the signature contains information about the original URL so you cannot reuse it with different URLs. We have to generate new signed URLs when direct user to other pages.(this will also refresh the session time, which is we want.)
Create Signed Cookies
NodeJs: Signed Cookies can be created using below code. I used this post as a reference.
1 | "use strict" |
- By default, CloudFront caches a response from Amazon S3 for 24 hours, so if you just updated contents in S3 bucket, CloudFront may still serve you the outdated content. Use the below code in cmd to force CloudFront to update its files from S3.
1 | aws cloudfront create-invalidation --distribution-id 'YOUR DISTRIBUTION ID' --paths "/*" |
References
- Task List for Serving Private Content using S3 and CloudFront
- Restricting Access to Amazon S3 Content by Using an Origin Access Identity
- Specifying the AWS Accounts That Can Create Signed URLs and Signed Cookies (Trusted Signers)
- Reformatting the CloudFront Private Key (.NET and Java Only)
- Using Signed URLs
- Creating a Signed URL Using a Canned Policy
- Code Example: Creating Amazon CloudFront Signed URLs in Node.js
- Code Example: Create a URL Signature Using C# and the .NET Framework
- Code Example: Create Signed Cookies using NodeJs
- Test Signed Cookies using Postman
- Epoch & Unix Timestamp Conversion Tools
- Why is CloudFront serving outdated content from Amazon S3?
- RSA public/private keys in YAML
- Convert PEM to XML in C#
- CloudFront Path Pattern Rules

